Last updated November 18, 2026







Free written scope consultation - allowances, timeline, and change-order rules on paper before a single trade is scheduled
Bathroom Remodeling Troubleshooting: Common Problems and How to Fix Them
Grout cracking in a new tile shower within the first year is not a grout problem. It’s a substrate movement problem, and re-grouting without fixing the substrate will crack again in the same spots within six months. That’s the pattern we see most in Garden Grove, and it repeats because homeowners treat the symptom instead of the cause. Nearly every post-remodel complaint follows the same logic: a skipped step or a wrong material choice, buried under a visible failure. This guide names those patterns so you can diagnose what actually went wrong, decide whether it’s a warranty call or routine maintenance, and have an informed conversation about the fix.
Quick Answer
Most bathroom remodel problems come from five root causes: movement at substrate and framing joints, the wrong sealant at a wet joint, missing or undersized ventilation, incorrect waterproofing at the shower threshold, and plumbing debris left in new drain lines. Fix the cause, not the finish, or the same failure returns. A written warranty call is usually the right move for anything within the first year; caulk and fan maintenance fall to you.
Styles & brands we work with
- Kitchen remodeling
- Bathroom remodeling
- Home additions & ADU
- Roofing
- Windows & doors
- Driveway & pavers
- Fence
Table of Contents
- Why Is My New Grout Cracking?
- Why Does Caulk Grow Mold at the Tub Surround?
- Caulk vs. Grout: Where Each Joint Belongs
- Why Is the Shower Door Leaking at the Threshold?
- Why Is Condensation Dripping From the Exhaust Fan?
- Why Is My Drain Slow After New Plumbing?
- Why Is the Bathroom Paint Peeling?
- The Anti-Scald Valve Requirement in California
- Warranty Call or Homeowner Maintenance?
Why Is My New Grout Cracking?
Cracking grout almost always means the surface beneath it moved. Grout is a rigid cement-based material; it doesn’t flex. When the subfloor deflects, when backer board seams weren’t taped and bedded, or when a wood-framed wall and a masonry wall meet without a movement joint, the tile assembly shifts a hair and the grout takes the hit. Re-grouting alone fixes the look for a few months and then fails again in the same lines.
On floors, the most common culprit is deflection. Garden Grove homes built in the 1950s and 1960s often have older floor framing that wasn’t sized for a heavy tile assembly, and a remodeler who skips a deflection check installs tile on a floor that was never stiff enough. On walls, the culprit is usually untaped backer board seams or greenboard used where cement board was required. In our experience across Garden Grove remodels, floor deflection and untaped seams account for most of the cracks we’re called back to look at.
What to check before anyone touches the grout:
- Tap along the cracked line. A hollow sound means the tile has debonded too.
- Note whether cracks follow a straight line between tile edges (a substrate seam) or wander (movement).
- Check whether the crack reappears in the same place after a re-grout. If it does, the substrate is the problem.
- Look for cracked tile in the same area. Bonded, stable tile rarely cracks alongside grout that’s simply worn.
The real fix is to stabilize the substrate, which may mean removing tile in the affected zone. This is exactly the kind of thing a written workmanship warranty should cover inside the first year. If you’re planning a bathroom project and want the substrate done right the first time, our Barrett & Sons Construction Garden Grove home page is the place to start.
Why Does Caulk Grow Mold at the Tub Surround?
Mold on caulk is a moisture problem, and the moisture is usually coming from two places: a sealant that wasn’t rated for wet areas, or a bathroom that never dries out. Standard painter’s caulk breaks down in a shower within months. A wet-area silicone or siliconized sealant lasts far longer, but even the right caulk will mildew if the room stays humid.
Garden Grove’s mild, often humid coastal-influenced air makes this worse than people expect. A bathroom without a working exhaust fan holds standing moisture on the caulk line long after the shower is off. The mold you see on the surface is the visible part; the failure underneath is a seal that’s pulled away from the tile or tub and is letting water behind it.
What actually helps:
- Run the exhaust fan during every shower and for 20 minutes after.
- Wipe the tub-to-tile line dry a few times a week if mold keeps returning.
- Re-caulk with a wet-area-rated, mold-resistant sealant, not general-purpose caulk.
- Replace caulk that has pulled loose rather than cleaning over it; mold grows in the gap.
- Fix the fan first if the room never dries. New caulk over a damp bathroom just grows mold again.
If the mold returns within weeks of a professional re-caulk, the sealant choice or the ventilation is the problem, and that’s worth a conversation with whoever did the work.
Caulk vs. Grout: Where Each Joint Belongs
Grout goes in the flat field between tiles. Caulk goes everywhere the tile plane changes direction or meets a different material. Inside corners, the tub-to-tile transition, and the shower floor-to-wall joint all move slightly with temperature and building settlement, and rigid grout cracks there every time. This is the single most common tile mistake we correct in Garden Grove bathrooms.
The rule is simple: any joint that can move gets a flexible sealant, and any joint that can’t move gets grout. Inside corners of a shower are two planes meeting; they move. The tub flexes when someone steps in; the tile doesn’t. That joint must be caulked, not grouted. When a tiler grouts those corners because it’s faster, the grout cracks within the first season and water gets behind the tile.
“Color-matched caulk” means a sealant tinted to match your grout color, so the flexible joint disappears visually instead of drawing the eye as a white or clear line. In practice, a good tile supplier matches caulk to the exact grout brand and color number. If your contractor caulked the corners in plain white and the grout is a warm gray, the joints will show, and that’s a sign they didn’t use the matched product.
If your shower was grouted in the corners and has already cracked, the fix is to remove that grout, clean the joint, and re-seal with color-matched caulk. Cosmetic. Quick. Done right, it holds.
Why Is the Shower Door Leaking at the Threshold?
A shower door that leaks at the threshold usually has one of three causes: a missing or failed sweep on the bottom of the door, a threshold that pitches the wrong way, or a curb that was waterproofed incorrectly. The sweep is the flexible strip that wipes the glass against the curb; when it wears out or was never installed, water runs straight out. A threshold that tilts toward the room instead of back into the shower sends water out even with a good sweep.
The curb is the part most people miss. A properly built shower curb is waterproofed on top of the framing with a membrane that runs up the inside face of the shower and over the curb in one continuous piece. When a curb is built by nailing cement board over the framing and tiling it without a membrane, water wicks through the grout, saturates the board, and finds the path of least resistance at the threshold. That’s a waterproofing failure, not a door problem, and no amount of caulk fixes it.
What to check, in order:
- Look at the sweep under the door. If it’s torn, missing, or not touching the curb, replace it first.
- Set a level on the curb. It should pitch slightly into the shower, not toward the room.
- Watch where the water escapes. At the door edge is usually the sweep; under the curb and onto the floor is usually waterproofing.
- If the leak continues with a new sweep and a correctly pitched curb, the curb likely needs to be rebuilt.
A threshold leak that keeps coming back is worth a professional look. Water behind a curb causes rot, and that’s a bigger bill than a door adjustment.
Why Is Condensation Dripping From the Exhaust Fan?
Water dripping from a bathroom exhaust fan means warm, moist air is condensing on a cold surface inside the fan or duct before it ever reaches the outside. The most common cause is a duct that runs through cold attic space without insulation, or a duct that terminates in the attic instead of through the roof or wall. Warm shower air hits the cold metal and turns to water, which runs back down. Short, undersized ducts and sagging flex duct that traps moisture do the same thing.
The other frequent cause is a fan sized too small for the room. A weak fan pulls some moisture but can’t clear the air fast enough, and what lingers condenses. In Garden Grove, the fix is almost always ductwork and fan sizing, not the fan motor itself.
What a proper setup looks like:
- The duct runs to the outside, through the roof or an exterior wall, never into the attic.
- The duct is insulated, especially through unconditioned attic space.
- The run is short and as straight as possible, with smooth rigid duct where practical.
- The fan is sized to the bathroom’s cubic footage.
- The fan is vented with a proper roof or wall cap that keeps rain and pests out.
If the fan has always dripped since the remodel, the ductwork is the place to look first, and it’s a fair warranty question.
Why Is My Drain Slow After New Plumbing?
A drain that runs slow right after a remodel is almost never a clog. It’s usually construction debris: grout, thinset, tile dust, or a rag left in the line during the work. New plumbing also introduces a different problem when the drain assembly was installed with too little fall or a wrong trap. Those are installation issues, not household buildup, and they show up from day one rather than after months of use.
The way to tell them apart is timing. A drain that was fine for a week and then slowed is likely debris or buildup. A drain that never ran fast after the plumbing went in points to slope or a trap problem. In Garden Grove homes, where older cast-iron lines are sometimes tied into new PVC during a remodel, the transition joint is another spot to check.
What to do:
- Note exactly when the drain slowed: from day one, or after weeks of use.
- Try a plunger or a drain snake before assuming a plumbing defect.
- If a snake pulls up grout or grit, the line was loaded with construction debris and needs a proper clean-out.
- If the slow drain persists after clearing, the trap or slope is worth a professional inspection.
Slow drains after new plumbing are usually fixed fast once the cause is named. If yours never drained right, that’s a call-back worth making.
Why Is the Bathroom Paint Peeling?
Standard interior paint peels in a bathroom because it wasn’t built for a wet room. Flat and matte finishes absorb moisture, and paint without a mildewcide in it feeds mold. The result is peeling, blistering, and mildew along the ceiling and above the shower, even though the paint looked fine on day one. Bathroom paint needs two things standard paint lacks: the right sheen and a mildewcide additive.
Satin or semi-gloss is the right sheen for bathroom walls because it resists moisture better and wipes clean. Ceilings above a shower often do best in a bathroom-specific formula with mildewcide built in. Paint labeled for kitchens and baths is blended for humidity; standard interior wall paint is not.
Timing matters after a remodel. Fresh drywall, fresh grout, and fresh thinset all release moisture for a while, and painting too soon traps that moisture behind the film, which causes peeling and blistering from the inside out. Waiting until the room has fully dried and cured before final paint is the difference between a finish that holds and one that fails in the first year. If a contractor painted the day after the tile went up, that’s worth asking about.
The fix is straightforward: sand off the failing paint, prime appropriately, and repaint with a bathroom-rated product in a satin or semi-gloss sheen. If it’s peeling in sheets, the wall underneath may have a moisture source that still needs fixing.
The Anti-Scald Valve Requirement in California
California code requires anti-scald protection in new and remodeled shower installations, and that requirement is what a pressure balance valve is built to satisfy. The valve senses changes in the hot and cold supply pressure and adjusts the mix so the shower temperature stays steady when someone flushes a toilet or turns on a sink. Skipping it isn’t just a code issue; it’s a safety issue, and it’s the first thing a building inspector checks on a shower rough-in.
The two valve types homeowners ask about are different jobs. A pressure balance valve keeps the mix ratio steady when pressure changes elsewhere in the house. A thermostatic valve lets you set an exact temperature and holds it, and often includes a separate temperature limit stop to cap the maximum. Both meet the anti-scald intent; the pressure balance valve is the more common, more affordable choice for a standard remodel. Water can reach scalding temperatures fast, especially for kids and older adults, so this isn’t a place to cut corners.
What happens when a remodeler skips the valve? The shower keeps the old two-handle setup, the rough-in fails inspection or never gets inspected at all, and the homeowner has no anti-scald protection. If your remodel passed inspection, the valve is in. If nobody pulled a permit, ask whether one was installed. A licensed plumber should confirm what’s behind your shower wall before you rely on it.
Warranty Call or Homeowner Maintenance?
Knowing which problems to call in on and which to handle yourself saves time and keeps a good relationship with your contractor. Workmanship failures are the contractor’s responsibility; wear items and routine upkeep are yours. The trick is having documentation ready and describing the problem clearly.
Before you call, gather:
- Your written contract, including the scope and any change orders.
- Photos of the failure, taken wide and close-up.
- Dates: when the work was done and when the problem appeared.
- A short description of what you see and whether it’s getting worse.
When you call, describe the symptom and let the contractor diagnose the cause. Avoid telling them what to fix before they’ve seen it; a good contractor wants to find the root cause too. What crosses into homeowner maintenance: failed caulk at a wet joint, a worn door sweep, a dirty or undersized fan that needs cleaning, and paint wear from normal humidity. What belongs on a warranty call: recurring grout cracks in the same lines, water leaking behind a curb, a drain that never flowed right, or paint peeling within the first season. The 90-Day Done Right Promise at Barrett & Sons is written on the contract so there’s no argument about which bucket a problem falls into.
Common Mistakes to Avoid
- Re-grouting cracked tile without checking the substrate. It looks fixed for a few months and cracks in the same lines, because the movement underneath was never the grout’s fault.
- Grouting inside corners and the tub-to-tile joint. Those are movement joints. Grout there cracks every time; color-matched caulk is the right material.
- Painting over fresh drywall too soon after a Garden Grove remodel. Trapped moisture behind the paint film causes peeling from the inside, often within the first year.
- Venting the bath fan into the attic. It’s a common shortcut that dumps moisture into the attic and drips back through the ceiling. The duct has to go outside.
- Skipping the anti-scald valve to save a few dollars. It fails inspection and leaves the shower unprotected, which is a real safety problem.
- Hiring a remodeler who won’t pull permits. An unpermitted shower may hide missing waterproofing and an unapproved valve. The permit inspector works for you.
- Accepting a verbal price change. An allowance that isn’t on paper is a surprise waiting for a date. Every change should arrive as a written change order before the work happens.
The other common mistake is skipping the outdoor projects that come with a whole-home plan. If your remodel leads to a bigger project, our Home Additions & ADU in Garden Grove and Driveway & Pavers in Garden Grove pages cover how those tie in.
See the difference
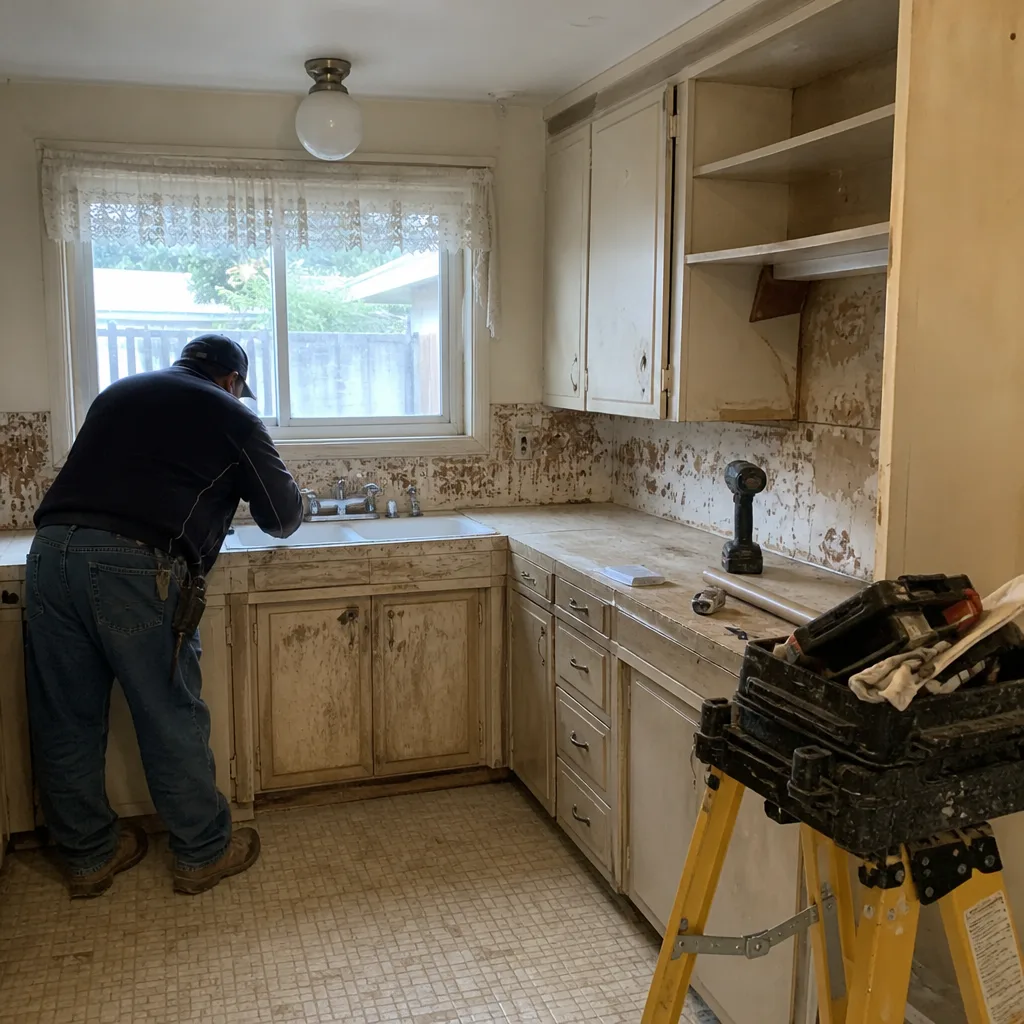 Before
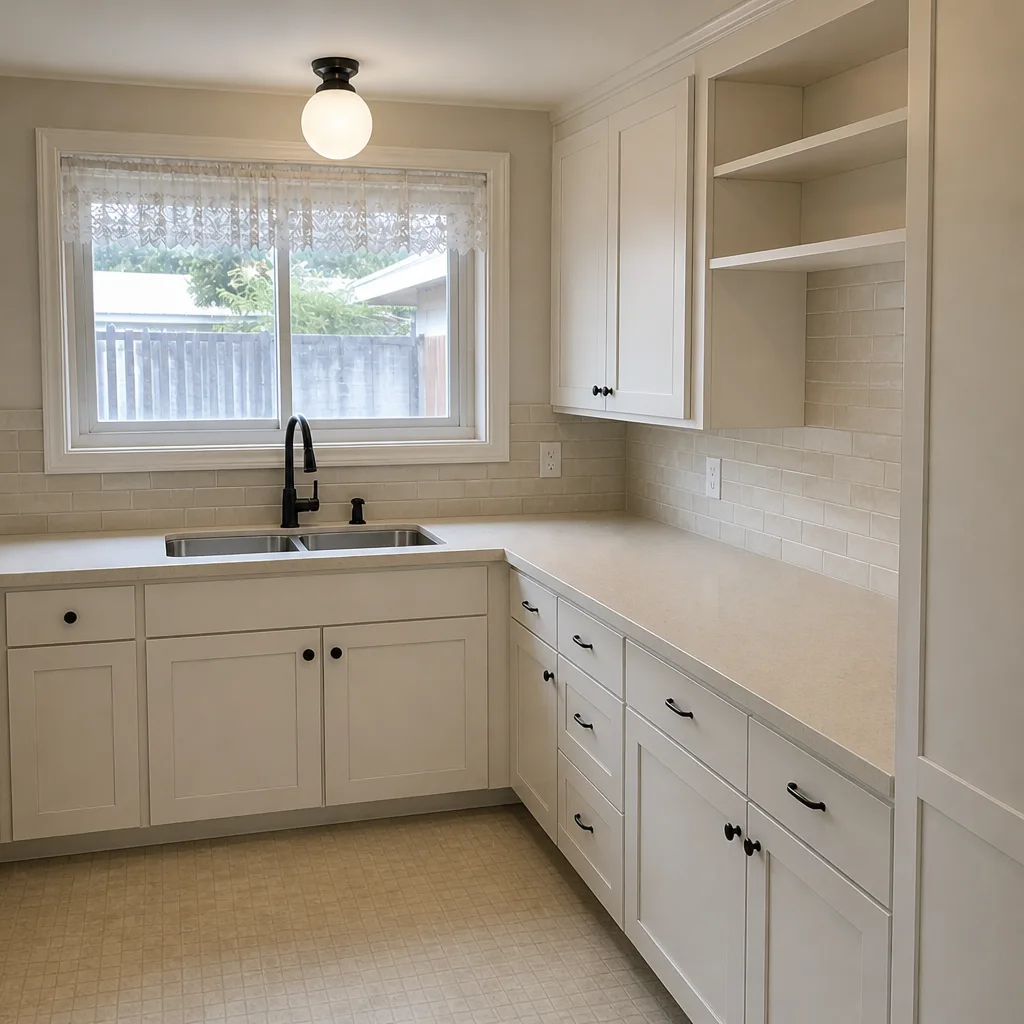 After
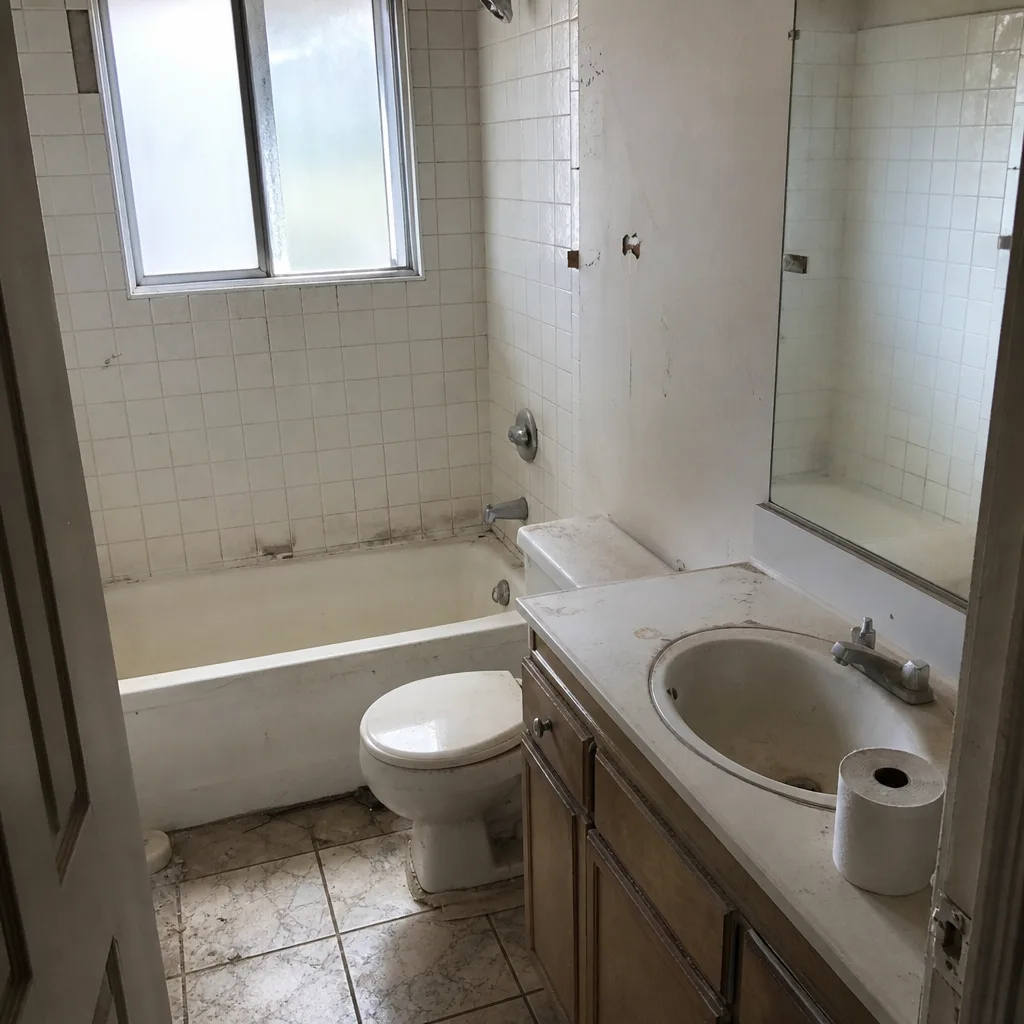 Before
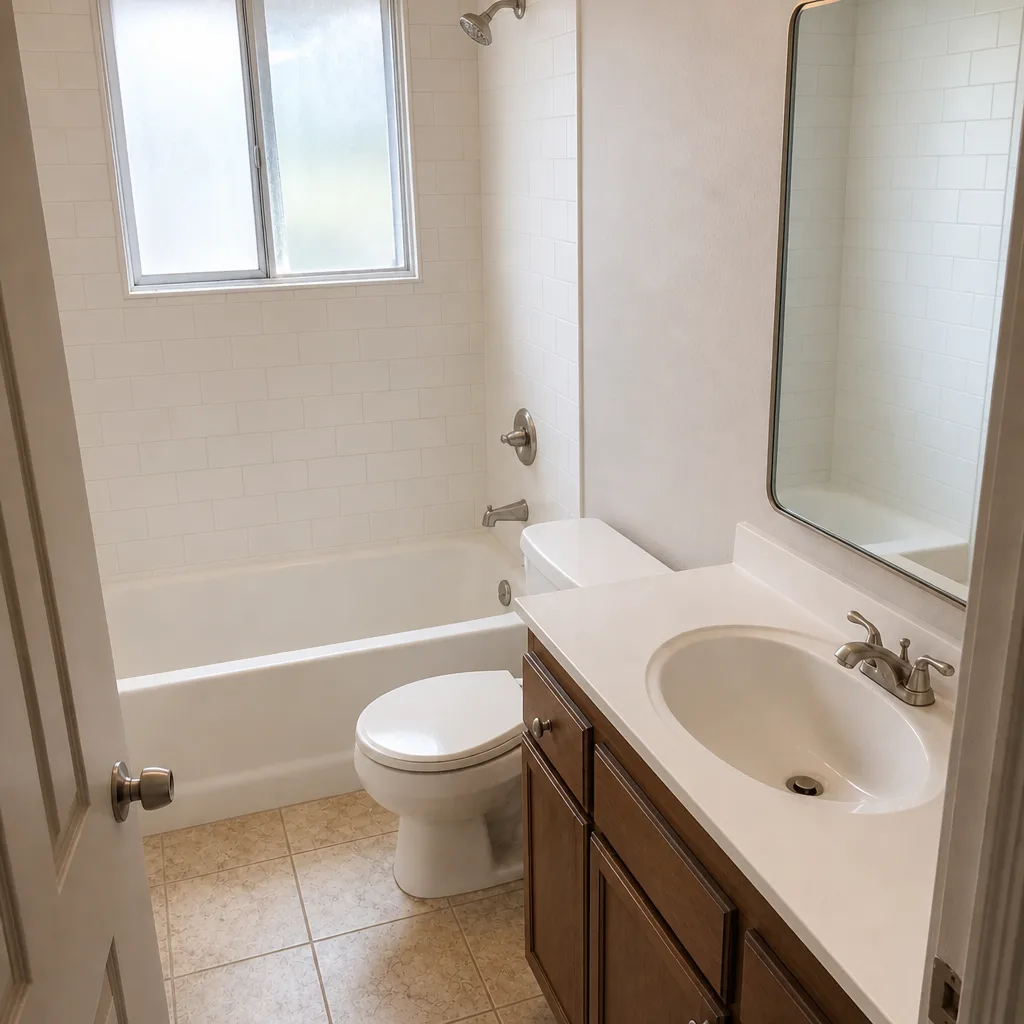 After
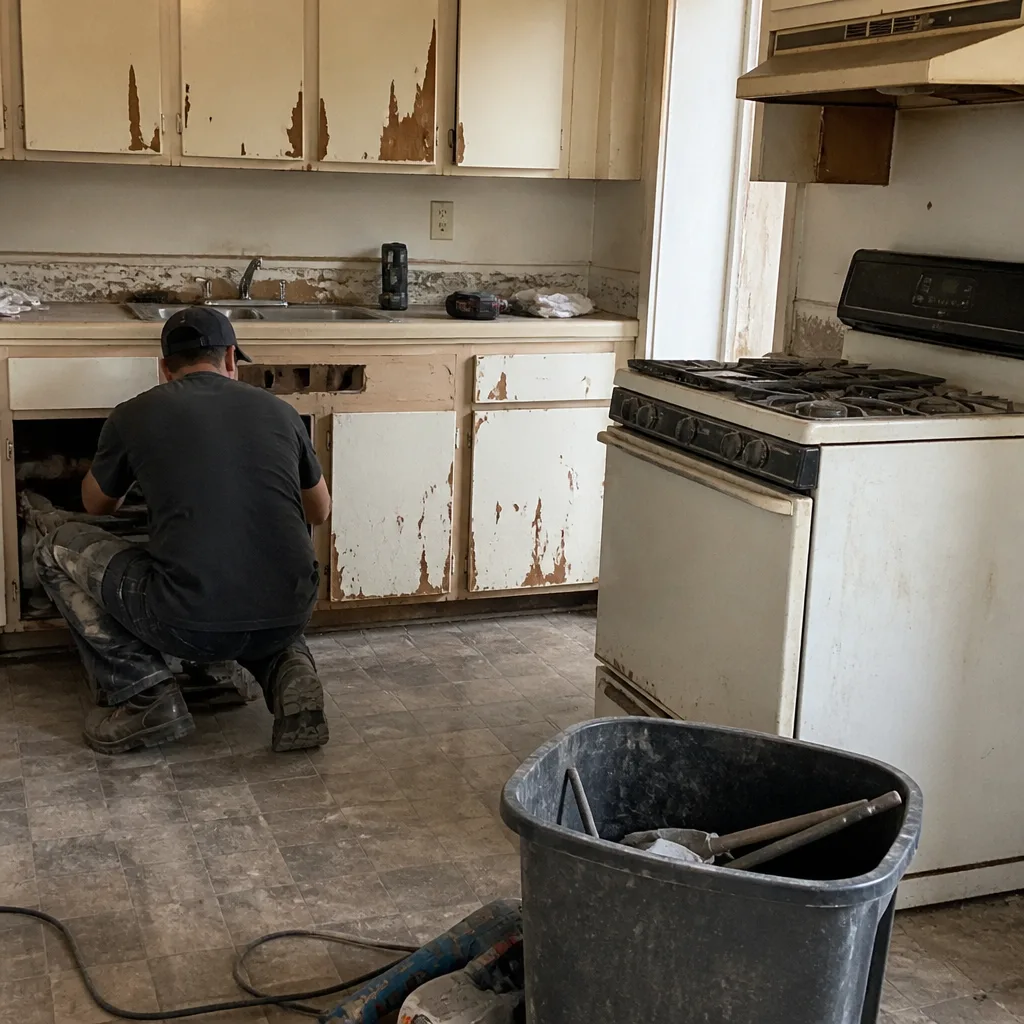 Before
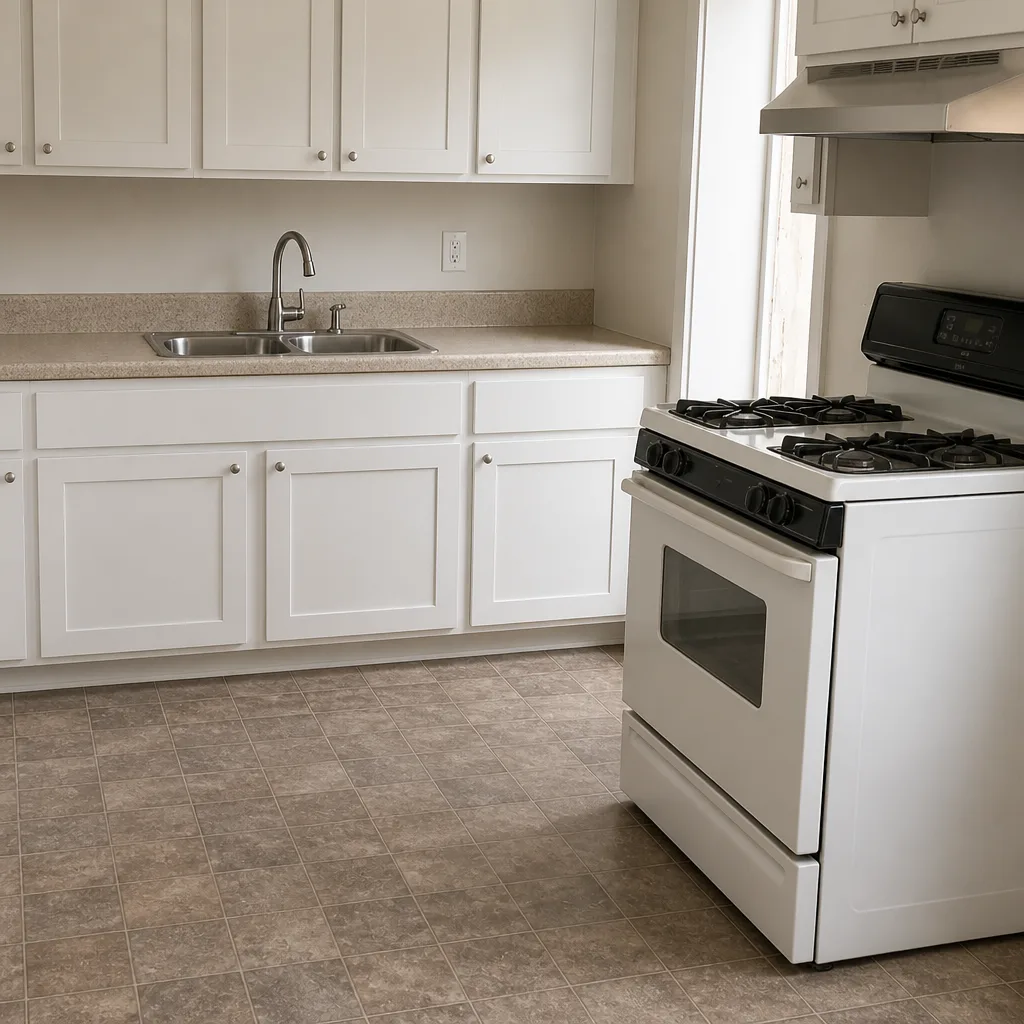 After
When to Call a Professional
Call a professional for recurring grout cracks in the same lines, water leaking behind a shower curb, a drain that never ran right after new plumbing, or paint peeling within the first season of a remodel. Those point to workmanship or waterproofing failures, not household upkeep, and the sooner they’re diagnosed the less damage they do. Also call for anything involving the shower valve or electrical at the exhaust fan. Water and electricity together aren’t a homeowner project. Barrett & Sons Construction Garden Grove offers free estimates in Garden Grove, and a live person answers the phone. Call (833) 703-5196 and we’ll come look.
Frequently Asked Questions
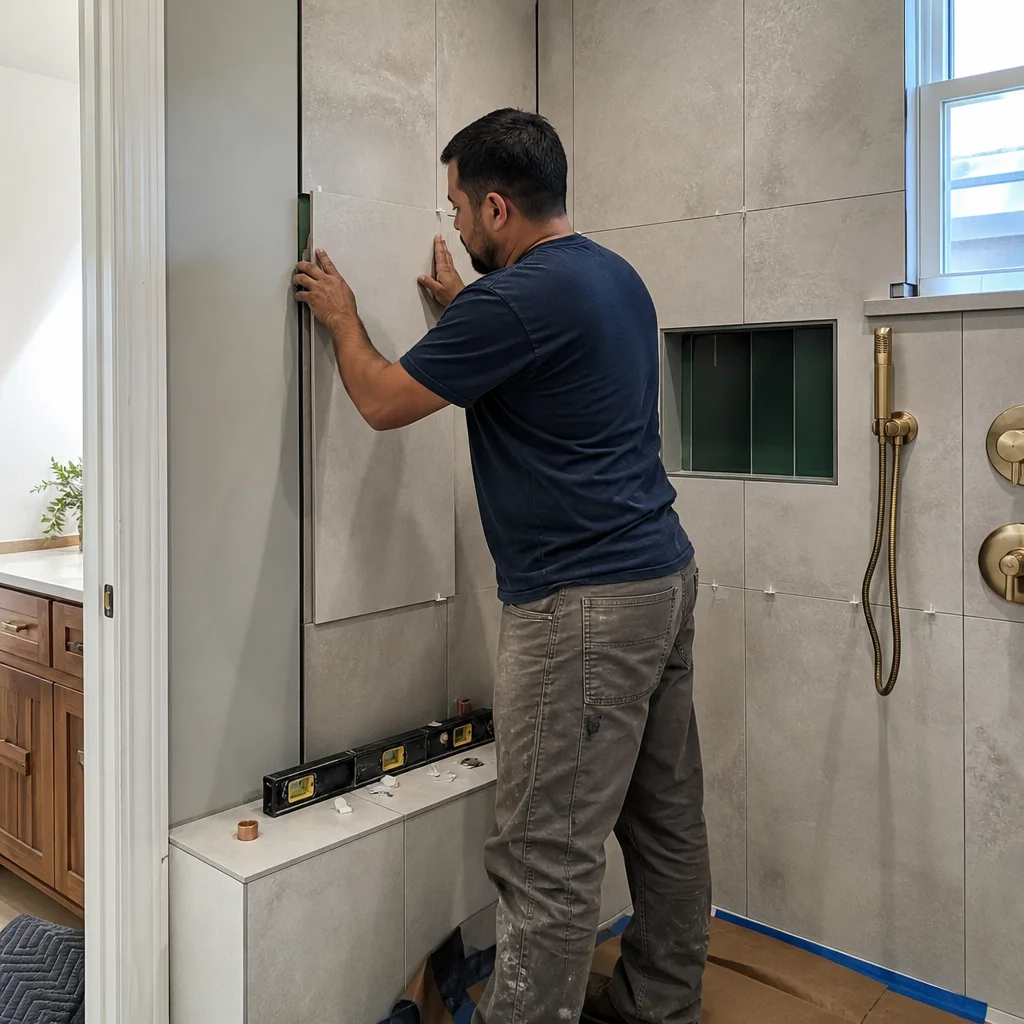
New grout cracks because the substrate beneath it moved, not because the grout itself failed. Deflection in the floor framing, untaped backer board seams, or a missing movement joint lets the tile assembly flex a hair, and rigid grout cracks at the stress point. Re-grouting alone fixes the look for a few months and fails again in the same lines. Call (833) 703-5196 for a free estimate on the repair if you’re in Garden Grove.
They should be caulked, not grouted, because those are movement joints where two planes meet. Grout in an inside corner cracks every time the building expands or settles. Color-matched caulk keeps the joint flexible and visually matches the grout. The same applies to the tub-to-tile transition, which flexes when someone steps into the tub.
A pressure balance valve keeps the hot-and-cold mix steady when water pressure changes elsewhere in the house. A thermostatic valve lets you set an exact temperature and holds it. Both satisfy California’s anti-scald requirement, and the pressure balance valve is the more common, more affordable choice for a standard Garden Grove remodel. Skipping either one fails inspection and leaves the shower unprotected.
It should wait until the drywall, grout, and thinset have fully dried and cured. Painting too soon traps moisture behind the paint film and causes peeling and blistering from the inside, often within the first year. The paint itself must be a bathroom-rated product in a satin or semi-gloss sheen with mildewcide, not standard interior wall paint.
Water drips from a bath fan when warm, moist air condenses inside the fan or duct before it reaches the outside. The usual cause is an uninsulated duct through cold attic space, or a duct that terminates in the attic rather than through the roof or wall. The fix is proper ducting to the exterior and a fan sized for the room, not a new fan motor.
It depends on timing. A drain that never ran right after the plumbing went in is usually construction debris or a slope and trap problem, and that’s a fair warranty call. A drain that slowed after weeks of use is often household buildup. Snake it first; if it still runs slow, call (833) 703-5196 for an exact quote, and estimates are free.
The Bottom Line
Almost every post-remodel bathroom problem traces back to a predictable cause: movement at a joint, the wrong sealant at a wet transition, weak ventilation, a waterproofing shortcut at the curb, or debris left in new plumbing. Fix the cause and the problem stays fixed; patch the finish and it returns. Garden Grove homeowners getting burned on a remodel usually point to the same thing when asked: a verbal promise that never made it into writing. If you want the work done with permits pulled, inspections signed, and a written warranty on every job, we’re twenty minutes away. Call (833) 703-5196 for a free estimate. If you’re planning a fence to go with the new bathroom, our Fence Installation in Garden Grove page has the details.
Written by the team at Barrett & Sons Construction Garden Grove.